15 DIY Shoe Rack Ideas for a Stylish and Organized Home
Looking to clear the clutter and showcase your favorite footwear? These DIY shoe rack ideas are perfect for anyone who wants practical storage with a touch of personal style. Whether you’re working with a small entryway, a spacious back porch, or even a bedroom corner, there’s a project here for every space and aesthetic.
From rustic farmhouse charm to sleek modern designs, these ideas blend organization with creativity. Plus, many are easy to customize, making them ideal for weekend warriors and seasoned DIYers alike.
Let’s dive into these beautifully functional solutions that will have your shoes (and your home) looking better than ever!
1. Wooden Crate Shoe Rack

This is one of the most budget-friendly and beginner-friendly DIY projects you can try, and it’s bursting with rustic charm. Wooden crates—readily available at craft stores, hardware shops, or even recycled from fruit and wine boxes—make the perfect foundation for a quick and stylish shoe rack.
Simply stack the crates in a vertical or horizontal formation depending on your space. Add some wood glue or screws to secure the structure, and you’ve got a sturdy unit that doubles as back porch decor or even hallway storage.
You can paint or stain the crates to match your decor style—whitewashed for that farmhouse vibe, dark walnut for a modern look, or colorful hues for a playful entryway.
Because each crate creates its own cubby, it naturally keeps shoes separated and easy to grab. For extra organization, label each crate with chalkboard tags or stencil-painted signs.
It’s a great project to involve kids in or a fun way to upcycle materials you already have on hand. Whether tucked into your mudroom or styled next to modern patio furniture, this shoe rack is functional and charming.
2. PVC Pipe Shoe Tower
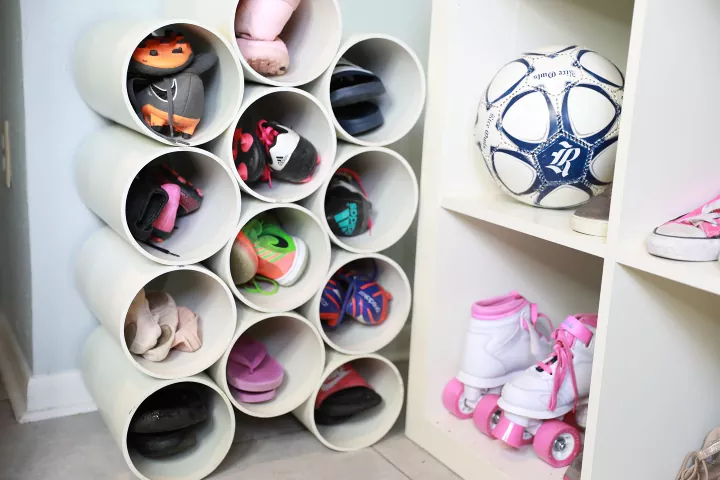
Looking for a modern and unexpected way to store your shoes? A PVC pipe shoe rack might be the answer. This clever DIY transforms industrial materials into sleek storage, perfect for a contemporary back porch or a minimalist indoor area.
Start by purchasing wide-diameter PVC pipes (around 6 to 8 inches). Cut them into 12-14 inch sections using a handsaw or power tool, then sand the edges smooth. Once you have at least 10-12 tubes, arrange them in a honeycomb or pyramid formation.
Use strong glue or fasteners to hold them together, then spray paint the entire structure in a color that matches your decor. Think matte black for a modern edge or soft sage green to blend with natural outdoor living spaces.
Each pipe holds one pair of shoes, keeping them upright and aired out. The round shape gives it a unique look that can double as a visual centerpiece in an otherwise functional spot.
This design is a smart and modern solution that adds a bit of flair to your storage while maximizing vertical space.
3. Industrial Pipe and Wood Rack
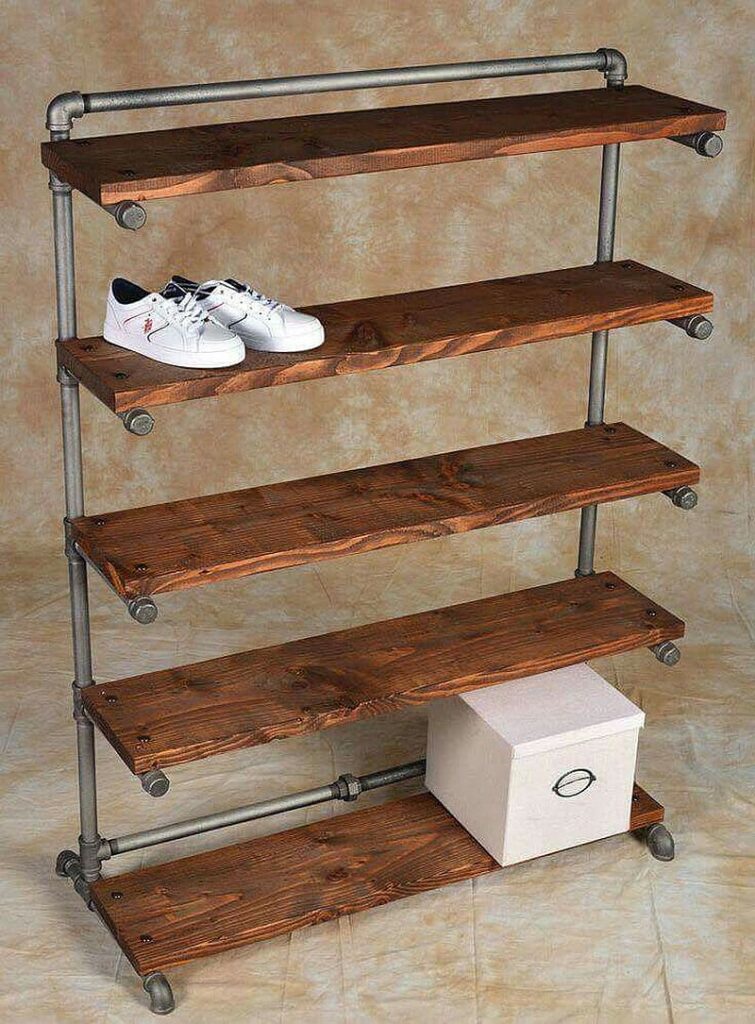
If you love the fusion of raw metal and warm wood tones, an industrial-style shoe rack will be right up your alley. Using steel pipes and wood planks, you can build a sturdy and modern piece that fits seamlessly into loft-style interiors or outdoor patio areas.
Start by choosing your wood—pine for a budget option or reclaimed wood for character. Stain or seal it to your taste. Then, purchase pipe fittings and flanges from your local hardware store.
Assemble the base using T-joints and elbows to create the legs and frame. Mount the pipes into flanges, then attach them to the wood shelves using screws. Stack multiple levels depending on your shoe collection and space.
The result is a beautiful blend of industrial style and craftsmanship that elevates your back porch decor or adds functional flair inside. It’s especially ideal for boots and larger shoes, thanks to the generous space between tiers.
Whether it’s styled with succulents or left clean and simple, this DIY shoe rack feels high-end and handmade at the same time.
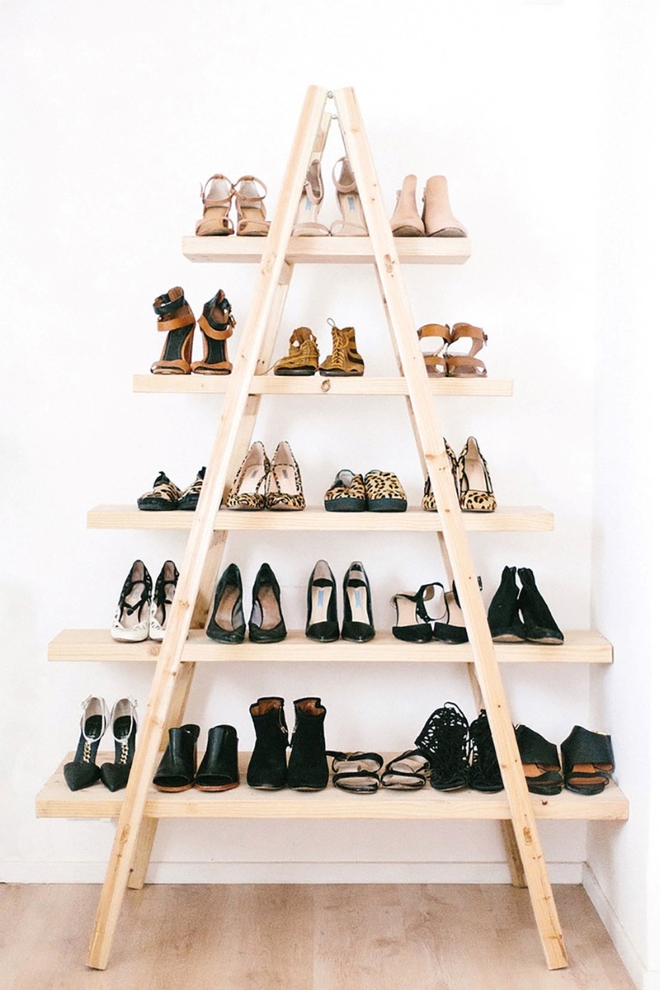
4. Ladder Shoe Shelf
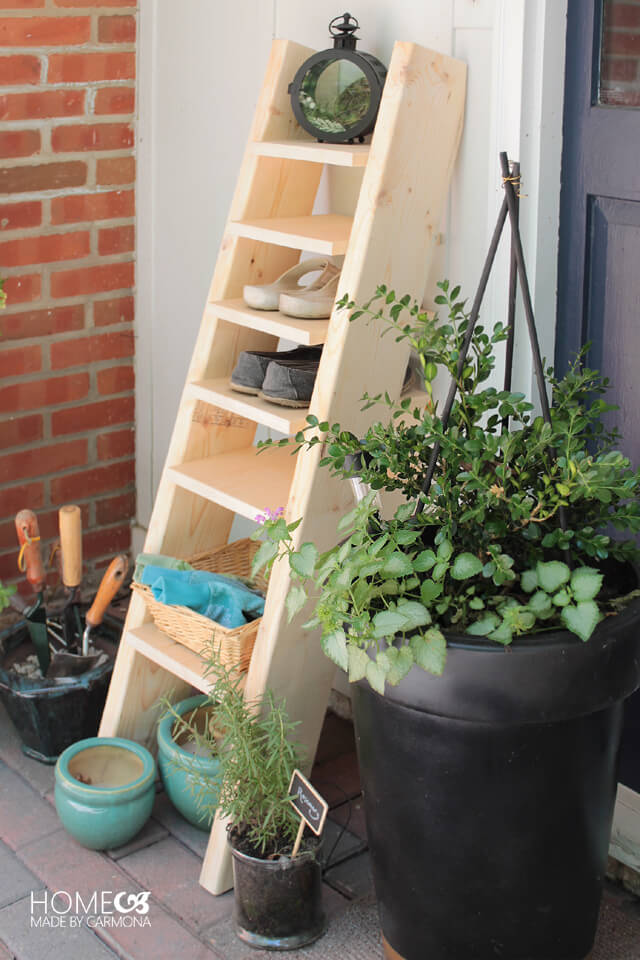
Repurposing an old wooden ladder is not only sustainable—it’s incredibly stylish. With its angled frame and multiple rungs, a ladder makes the perfect bones for a tiered shoe display that’s equal parts storage and decor.
Start by cleaning and sanding down your old ladder. Paint or stain it to fit your style—white for cottage charm, black for a bold modern look, or keep the original weathered wood for rustic appeal.
Next, add wooden planks across the rungs to form the shelves. You can screw them in for stability or use brackets underneath. Depending on your space, this rack can lean against the wall or be freestanding with a little bracing at the back.
Perfect for a bedroom corner or even as part of a back porch vignette, this shoe rack adds vertical storage without taking up too much floor space.
It’s a great way to display your most-worn shoes and can even double as a small shelving unit for bags, planters, or seasonal accessories.
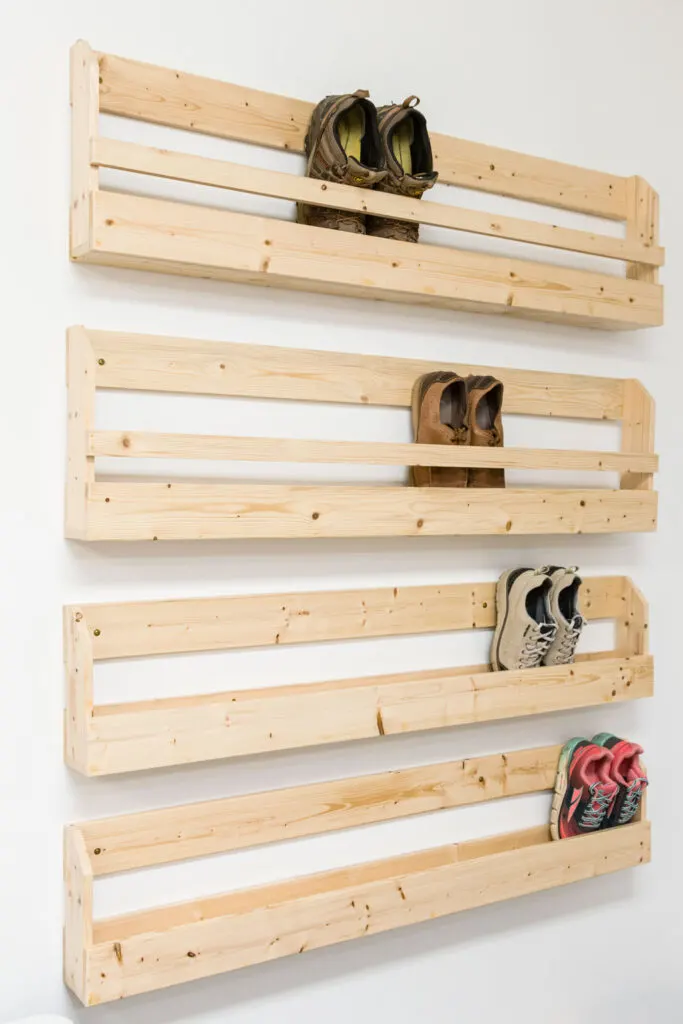
5. Pallet Shoe Organizer

Wooden pallets are a DIYer’s dream—affordable, rustic, and incredibly versatile. A standing pallet shoe organizer is a fantastic project for anyone looking to add rustic style to their outdoor living setup or entryway.
To start, find a clean, intact pallet. Sand it down and apply your desired finish. Then, stand the pallet upright and lean it against a wall. The horizontal slats are perfect for sliding shoes into, especially flats and sneakers.
For added customization, you can add hooks on the sides for keys or dog leashes, or attach baskets at the bottom for storing socks or shoe care products.
This organizer doesn’t require much cutting or heavy-duty tools, making it great for beginner DIYers. Plus, it’s easy to move and adjust as your storage needs evolve.
It’s an excellent way to blend function and farmhouse flair without spending a fortune.
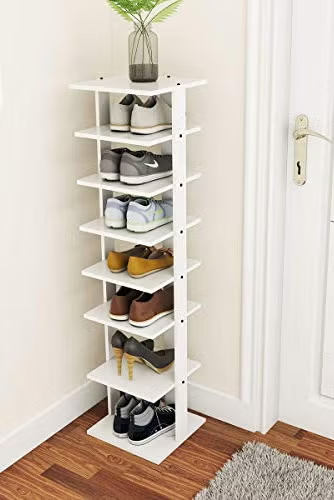
6. Floating Shelf Shoe Wall
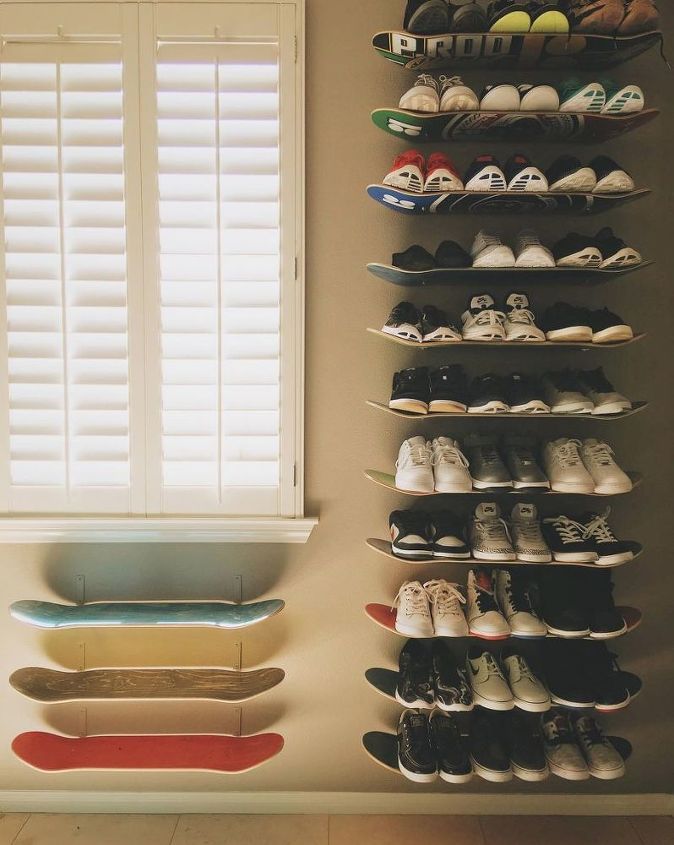
Floating shelves offer a minimalist and space-saving option, especially if you’re working with tight quarters like a small hallway or a narrow back porch.
This DIY involves installing a series of wall-mounted wooden or metal shelves at staggered heights. Each shelf can hold several pairs of shoes, depending on their depth and width.
For a cleaner, sleeker look, opt for hidden brackets or wall anchors that give the illusion of “floating.” Finish the shelves in a tone that complements your decor—light oak for a Scandinavian vibe, dark walnut for something more traditional, or black for a bold contrast.
You can make it as tall or wide as needed, and it’s easy to integrate into your existing home design. Add in a small bench below or a wall mirror above to make it feel like a built-in entry nook.
Floating shelves are perfect for maximizing vertical space while keeping things looking modern and intentional.
7. Bench with Hidden Shoe Storage
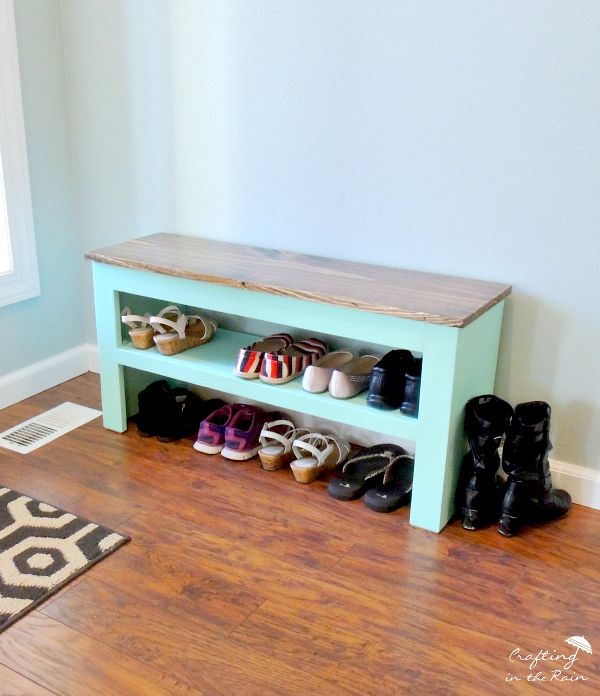
Dual-purpose furniture is a dream for small spaces, and a bench with hidden shoe storage does just that. It gives you a place to sit while taking your shoes on and off—plus plenty of concealed storage to keep clutter out of sight.
For this DIY, build a simple bench using wood planks and sturdy legs. The key feature is the lift-up seat that reveals a hidden compartment inside. You can also build cubbies or sliding drawers underneath depending on your design preference.
Paint or stain the bench to match your back porch decor or indoor style. For added comfort and style, top it with a padded cushion in a durable outdoor fabric or coordinating upholstery.
Not only does it serve as practical storage, but it also helps define your entryway or porch area. It’s an ideal solution for keeping your shoes tidy and your space looking polished.
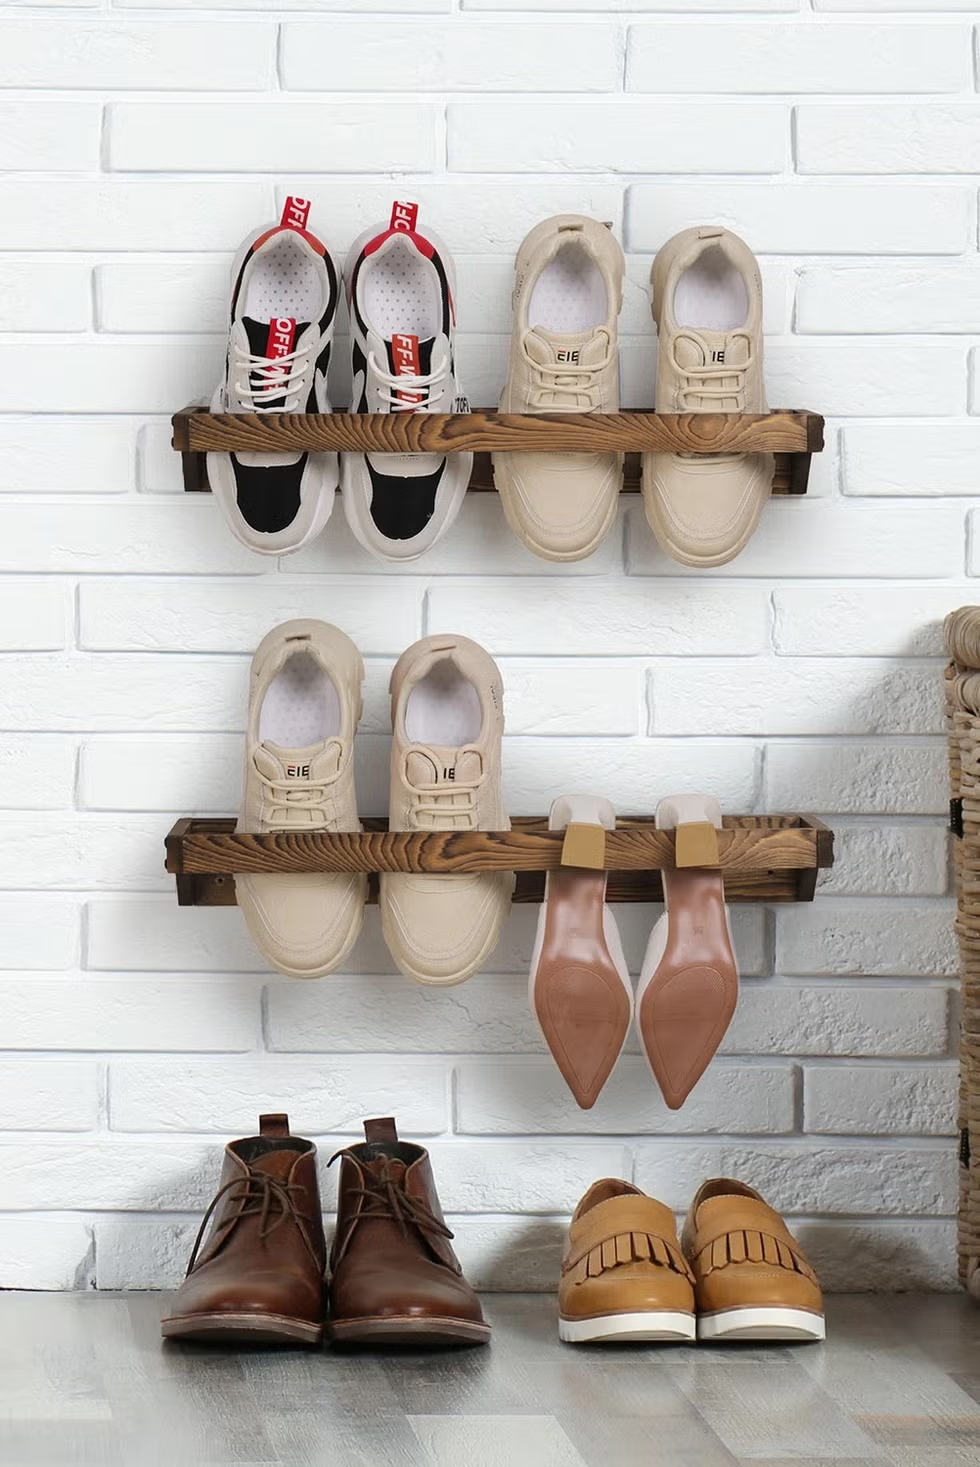
8. Hanging Shoe Organizer from Wooden Dowels
This is a creative and lightweight option that’s perfect for those who like a clean and airy look. By suspending shoes from wooden dowels attached to the wall, you can create a floating shoe rack that doubles as art.
Use leather straps, rope, or metal brackets to mount several wooden dowels horizontally along a wall. Then, hang shoes by their heels over the dowels or use S-hooks for added versatility.
This design works best for heeled shoes or lighter footwear like sandals and flats. You can stagger the dowels for visual interest or install them in even rows for a tidy, minimalist effect.
Because it lifts shoes off the floor, this rack frees up ground space and makes cleaning easier—perfect for a modern back porch or streamlined mudroom.
It’s also a fun way to showcase your favorite shoes in a gallery-style display while keeping everything organized and within reach.
9. Rolling Shoe Cubbies

If you need mobility and flexibility, rolling shoe cubbies are an excellent DIY solution. They’re ideal for under-bed storage, closets, or even outdoor covered patios, especially if you want to move your shoes around without lifting or dragging bins.
To build your own, start with a shallow wooden box or build one from scratch using plywood. Divide the interior with wood panels to create cubby-style compartments—each big enough to hold one or two pairs of shoes.
Attach small caster wheels to the bottom so the unit can easily glide over smooth floors. Consider adding a small handle or cut-out notch for pulling the cubby in and out from under furniture.
Paint or stain the wood to suit your space. You could go with a natural finish for a Scandinavian look, or match the color to your modern patio furniture for a coordinated vibe.
Rolling shoe cubbies make your space more functional without sacrificing style. They’re especially useful for homes with limited closet space and are a smart way to keep things organized in a multi-use area.
10. Hanging Closet Shoe Pockets
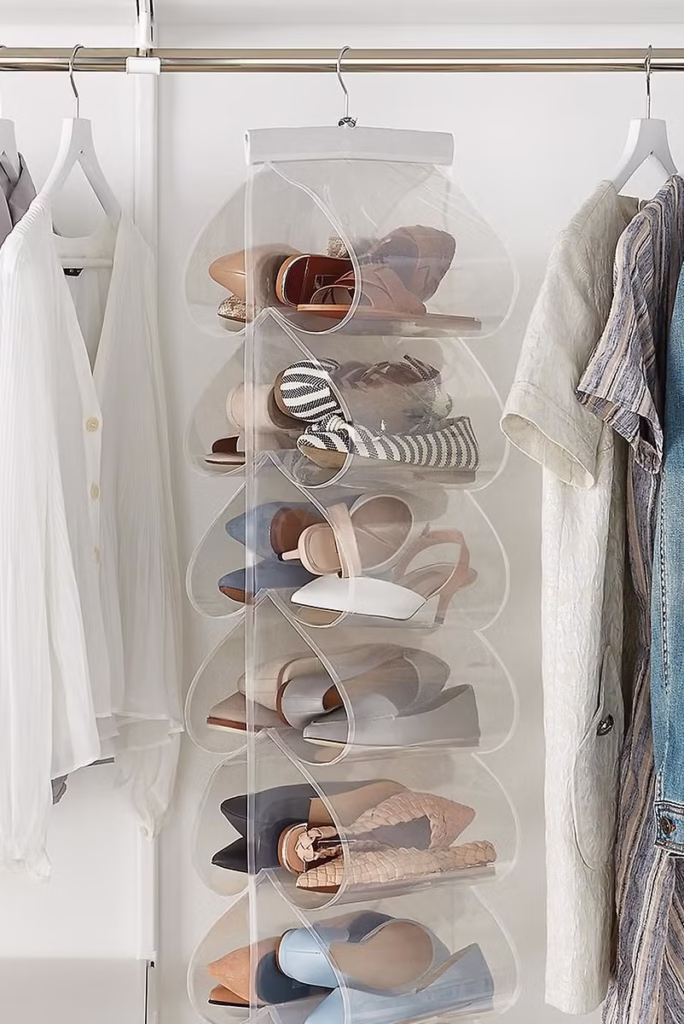
A hanging closet organizer is one of the quickest and most practical ways to keep shoes neatly stored, especially in small apartments or bedrooms with limited floor space. It’s a great low-effort, high-impact DIY that keeps your shoes off the ground and easily visible.
You can purchase or create your own hanging fabric pockets using canvas or heavy-duty fabric. Sew or glue pockets in rows onto a long piece of fabric or a shoe-sized over-the-door frame. Then hang it on a closet rod or over a door using metal hooks.
Each pocket holds a single shoe or pair of flats, making it perfect for lightweight or everyday footwear. To personalize it, use iron-on patches, fabric paint, or stencils to decorate the fabric and label the pockets.
These organizers are also great for seasonal swaps. Store winter boots elsewhere and keep sandals or sneakers within reach during the warmer months.
Functional, flexible, and easy to install, this shoe storage option is great for renters and anyone short on space.
11. Tree Branch Shoe Display
Nature lovers, this one’s for you! A tree branch shoe rack brings a touch of the outdoors inside (or outside) and works wonderfully as a decorative element on a back porch, sunroom, or rustic mudroom.
Choose a thick, sturdy tree branch or piece of driftwood that’s long enough to accommodate multiple pairs of shoes. Clean and sand it, then apply a protective sealant. Mount the branch horizontally onto a wall using L-brackets or sturdy rope.
For a more dramatic look, suspend it from the ceiling using chains or strong cord. Shoes can be placed on top if the branch is thick and flat enough or hung by their laces or heels with S-hooks.
This DIY isn’t about mass shoe storage—it’s about showing off a few select pairs with personality and flair. Use it to display boots, heels, or decorative footwear that complements your back porch decor or rustic interior.
Not only is it practical, but it’s also a great way to introduce organic shapes and textures into your space.
12. Stackable Wooden Boxes
Stackable wooden boxes offer an endlessly customizable and modular way to organize shoes—especially if your collection tends to grow and shift over time. This DIY is perfect for those who want the freedom to change up their layout on the fly.
Start by building or buying uniform wooden boxes. You can use unfinished pine, plywood, or even repurpose wine crates. Sand and stain them to your desired finish—consider lighter tones for a clean and modern back porch look or deep stains for a cozy, rustic vibe.
Arrange the boxes side by side or stack them vertically in a pyramid or grid shape. Secure them together with screws, or leave them unfastened for a more flexible setup.
These boxes make it easy to organize shoes by category—heels, sneakers, boots—and they double as mini display units. Add decorative elements like labels, stenciled fronts, or even wallpaper backings to personalize each cubby.
This system is ideal for entryways, closets, or bedroom corners and scales up or down depending on your needs.
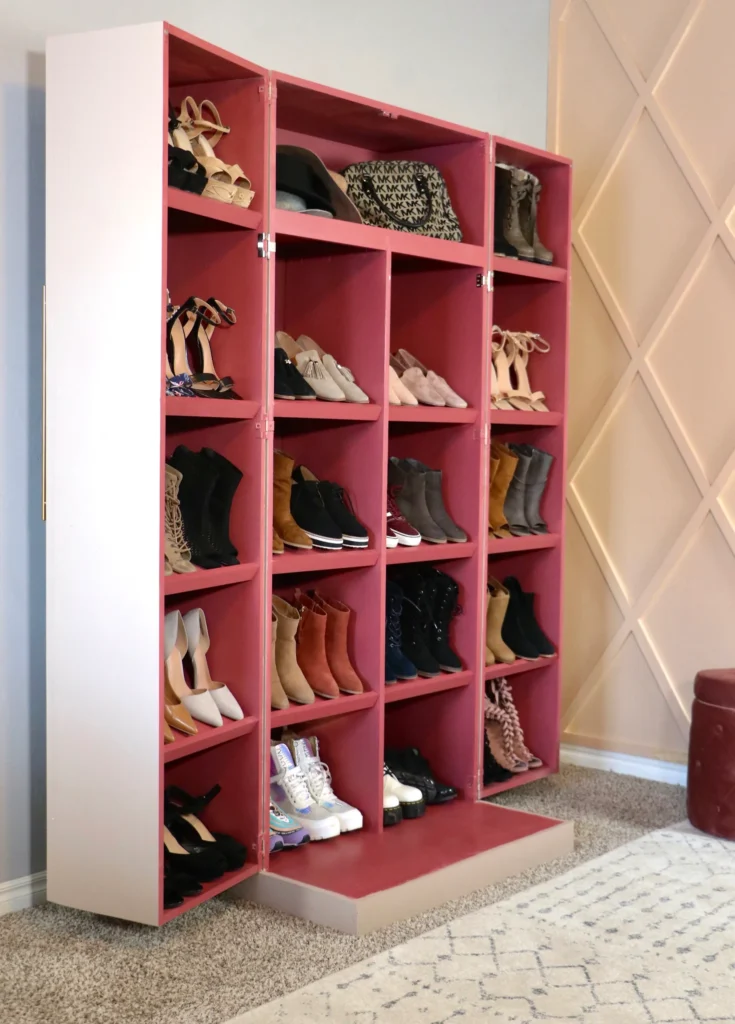
13. Recycled Bookshelf Shoe Rack
Turning an old bookshelf into a DIY shoe rack is an eco-friendly and stylish way to get organized. It’s also a wonderful way to upcycle furniture that might otherwise be collecting dust or headed for the curb.
Start by selecting a bookshelf that suits your space—short and wide for a hallway, or tall and narrow for a closet or mudroom. Clean and paint or stain it to match your home’s style.
Adjust the shelf heights if possible to accommodate different types of shoes, from flats and sneakers to high heels and ankle boots. Add decorative touches like wallpaper backing, stenciled patterns, or even small baskets for accessories.
If you’re using it in an outdoor setting like a covered back porch, be sure to use weather-resistant paint and place it away from direct moisture.
This type of shoe rack offers generous storage, easy visibility, and a finished, built-in look that can elevate any room or entry area. It’s also a great match for rustic or vintage-themed decor.
14. Pegboard Shoe Wall
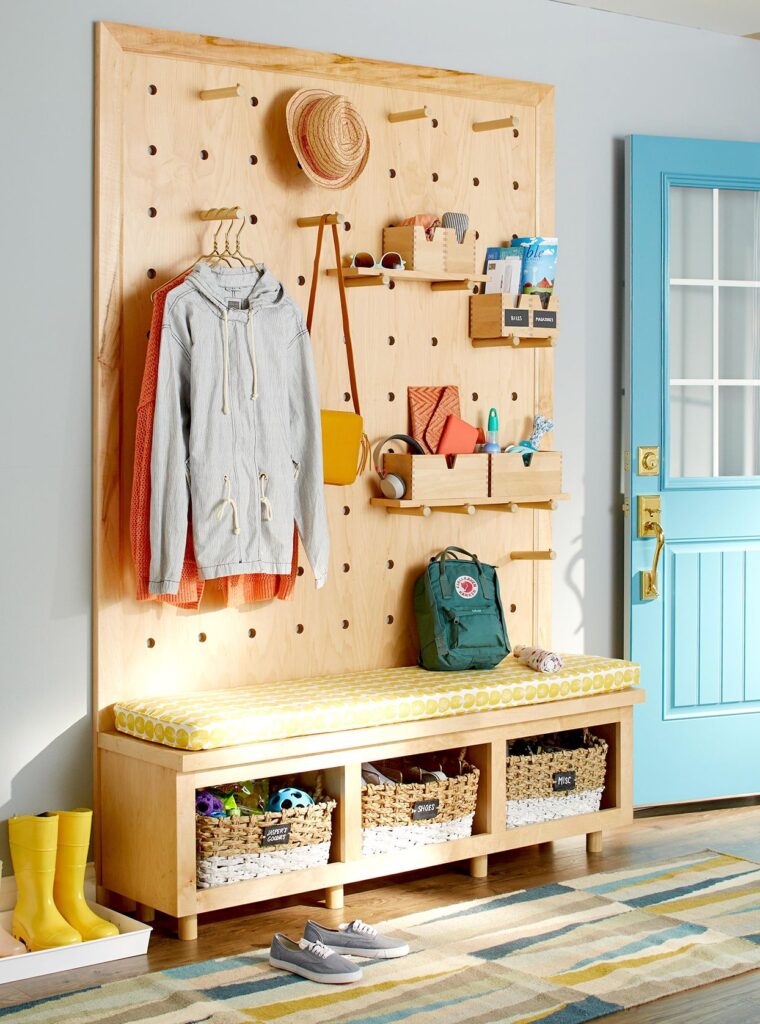
For a totally customizable and modern approach, consider a pegboard shoe wall. Pegboards aren’t just for tools—they’re fantastic for flexible storage that adapts to your changing needs.
To make your own, purchase a large pegboard sheet from your local hardware store and paint it in a color that complements your interior or outdoor setup. Mount it securely to the wall with anchors and spacers to ensure it can support weight.
Use hooks, brackets, and even small pegboard shelves to hold everything from sneakers to heels. You can rearrange the pegs as your shoe needs evolve, and even add accessories like mini baskets or bins for socks, laces, or shoe polish.
This DIY is especially useful for homes that value modern functionality and want a clean, organized look. It’s perfect for back porch decor, entryways, garages, or walk-in closets.
Plus, the vertical orientation means it saves valuable floor space while adding texture and interest to your walls.
15. Cabinet-Style Shoe Cupboard
If you’re after a sleek, polished finish, a cabinet-style shoe cupboard might be your perfect match. It hides shoes completely out of sight, making it ideal for a more formal entryway or minimalist home.
To build your own, construct a shallow cabinet frame with hinged doors using plywood or MDF. Inside, install angled shelves that let shoes rest slightly tilted—this saves space and allows for better visibility.
Customize the cabinet’s exterior to match your decor. Go for shaker-style doors for a classic look, beadboard for a cottage feel, or smooth, painted panels for a modern finish. Hardware also makes a big difference—choose from black iron handles, brushed brass knobs, or minimalist pulls.
The beauty of a shoe cupboard is that it looks like a piece of custom furniture but offers loads of storage. Add a drawer at the bottom or baskets inside to house accessories like insoles, socks, or polish.
This is one of the more advanced DIY options, but it’s also one of the most stylish and satisfying. Perfect for keeping your space looking clean, cohesive, and clutter-free.
Conclusion: Step Into Organization with Style
Whether you’re looking to declutter your entryway, upgrade your back porch decor, or simply show your favorite shoes some love, these 15 DIY shoe rack ideas offer a solution for every space, style, and skill level.
From rustic ladder shelves and tree branch displays to modern floating walls and hidden benches, each of these ideas combines creativity with functionality. They’re a testament to how something as simple as shoe storage can become a thoughtful, attractive part of your home design.
Plus, many of these projects use repurposed or affordable materials—so you can stay stylish on a budget while making your space work better for you.
So, gather your tools, pick your favorite style, and start building a shoe rack that fits both your needs and your personality. Your feet (and your floors) will thank you!